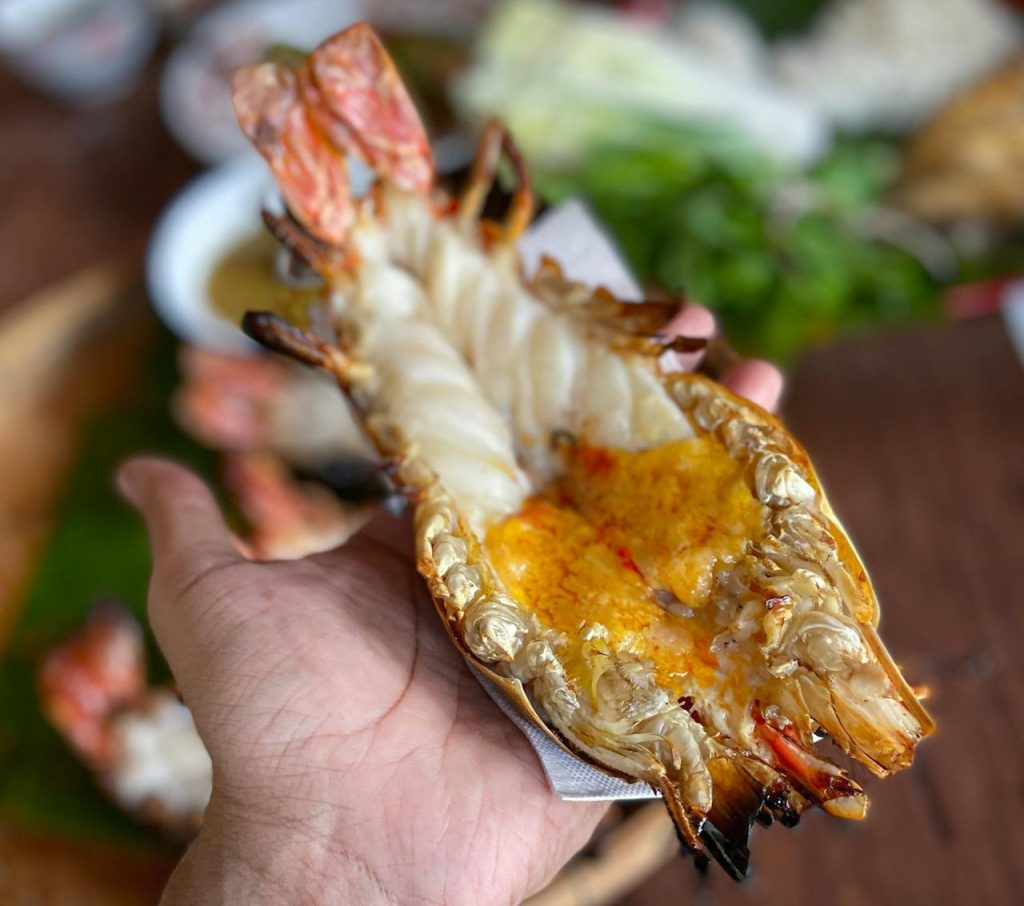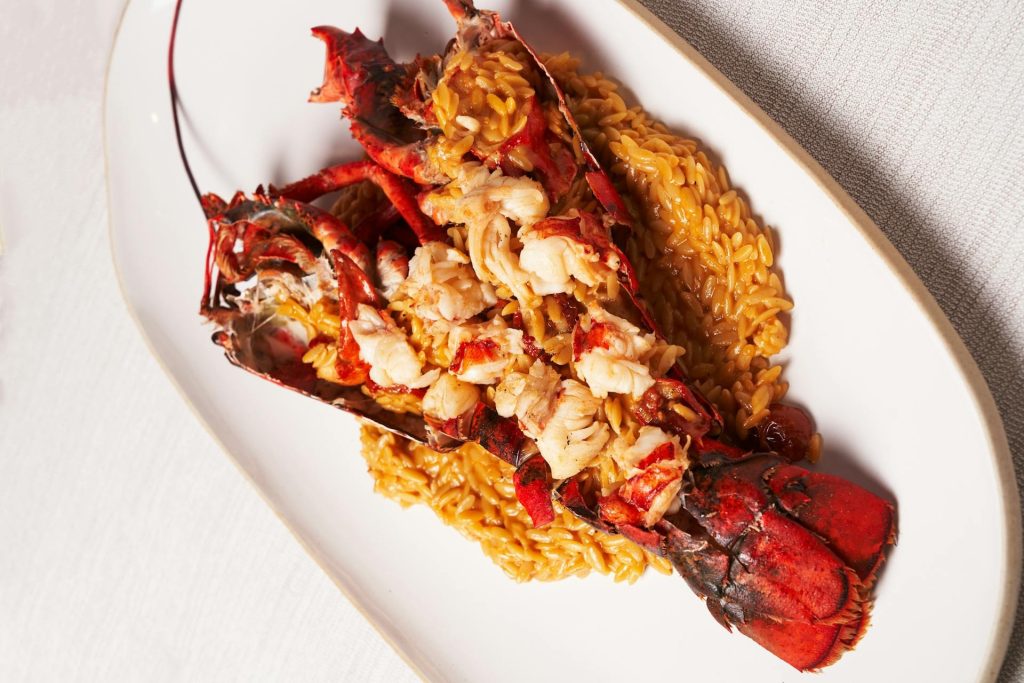
Ever stood at your grill, the sizzle of seafood hitting hot metal, and inhaled that intoxicating aroma of buttery lobster meat caramelizing to perfection? There’s nothing quite like it.
Whether you’re firing up your trusty Weber on a summer evening or breaking in that shiny new ceramic grill, mastering how to grill lobster tails is your ticket to backyard culinary fame.
I’ve spent countless weekends perfecting my technique on grilling lobster tail, and I’m here to share every juicy secret I’ve learned to help you.
Ready to impress your guests with restaurant-worthy lobster without the restaurant prices? Let’s dive in.
Getting Started: The Essential Do’s of Grilling Lobster Tails
1. Thaw Those Tails Properly
Ever bitten into a lobster that’s rubbery on the outside but still frozen in the center? Not ideal, right?
- Place frozen tails in the refrigerator overnight for slow, even thawing
- In a hurry? Submerge sealed tails in cold water for an hour, changing water every 15 minutes
- Never use hot water or the microwave – trust me on this one!
If you are planning a lobster feast at home, start by choosing your live lobster. They often come with specific thawing instructions for their product.
Fresh Maine lobster meat is firm and mild, and it performs well whether you’re grilling over coals, steaming until the shell turns coral, or serving with melted butter.
2. Set Your Grill Up for Success
Your grill setup can make or break your lobster experience:
- Clean those grates thoroughly – lobster is notorious for sticking
- Oil the grates with a high-heat oil using a folded paper towel and tongs
- Preheat to medium-high (400–450°F) – patience here pays off!
- Create a two-zone fire with direct and indirect heat areas (your escape plan if things get too hot)
3. Prep Those Tails Like a Pro
Butterflying is where the magic happens. Grab your kitchen shears and:
- Cut straight down the top of the shell lengthwise, stopping at the tail fin
- Gently pry the shell open and loosen the meat, keeping it attached at the base
- Lift the meat to rest on top of the shell – this “piggyback” method is both pretty and practical
- Quick hack: Score the underside of the shell 3-4 times to prevent curling (no skewers needed!)
4. Season with Purpose
Less is more with lobster – you’re not trying to mask the flavor, you’re enhancing it:
- Brush with clarified butter or good olive oil first
- Sprinkle lightly with kosher salt and freshly cracked pepper
- Want to elevate? Try a compound butter with lemon zest, tarragon, and a touch of garlic
5. Master Temperature Control
Cooking lobster is all about precision:
- Invest in an instant-read thermometer if you haven’t already
- Aim for an internal temperature of 135–140°F
- Look for meat that’s turned from translucent to pearly white
- Remember: You can always put undercooked lobster back on the grill, but overcooked? Game over.
6. Use the Shell as Nature’s Cooking Tool
The shell isn’t just for looks – it’s functional:
- Start flesh-side down for 2-3 minutes to get those beautiful grill marks
- Flip to finish cooking with the shell-side down (about 3-4 more minutes for an 8-oz tail)
- Let the shell do its job as a natural heat shield, protecting and basting the meat
7. Serve While the Iron’s Hot
Unlike your favorite steak, lobster waits for no one:
- Let rest for just 30-60 seconds after coming off the grill
- Serve immediately with lemon wedges and extra melted butter
- Seriously – eat it while it’s hot! Cold lobster just isn’t the same experience
Avoid These Pitfalls: The Critical Don’ts of Grilling Lobster
1. Don’t Play the Overcooking Game
Overcooking is the number one lobster crime. How do you avoid it?
- Set a timer – even 2 minutes too long can ruin your meal
- Pull tails when they reach 135°F – carryover cooking will take care of the rest
- When meat turns opaque and pulls easily from the shell, it’s done!
2. Don’t Skip the Prep Work
Cutting corners leads to curling troubles:
- Either skewer tails straight through the center or score the underside of the shell
- Unprepped tails curl dramatically, cooking unevenly and looking less presentable
- Take the extra two minutes – your perfectly cooked tails will thank you
3. Don’t Bury That Beautiful Flavor
Your lobster costs good money – let it shine:
- Avoid heavy rubs and marinades that overpower the natural sweetness
- Say no to premade seafood seasonings loaded with fillers
- When in doubt, stick with the classics: butter, lemon, salt, pepper
4. Don’t Ignore the Flames
Those butter flare-ups aren’t adding “char” – they’re adding bitter burnt notes:
- Keep a spray bottle of water nearby for minor flare-ups
- Have tongs ready to quickly move tails to the indirect heat zone
- Never walk away from grilling lobster – these precious jewels deserve your full attention
5. Don’t Start With Dirty Equipment
Clean grill = clean flavor:
- Scrub grates thoroughly before preheating
- Remove last weekend’s chicken remnants completely
- A dirty grill leads to sticking, tearing, and flavor contamination
Level Up Your Game
1. Try the Thermal Gradient Method
Want to revolutionize your lobster game? Try this:
- Start tails at lower heat (325°F) for 2-3 minutes to warm through gradually
- Finish at high heat (450°F) for caramelization and color
- Result? Perfectly juicy inside, beautifully caramelized outside
2. The Shell-Scoring Secret Weapon
My game-changing technique:
- Turn the tail over and make 3-4 shallow cuts across the underside segments
- This prevents curling without puncturing the meat with skewers
- Bonus: The tail cooks perfectly flat with even heat distribution
3. Triple-Layer Your Butter Approach
Why settle for one butter application when you can have three?
- Start: Neutral clarified butter (higher smoke point, clean flavor)
- Mid-cook: Herb-infused butter (tarragon, chives, garlic)
- Finish: Citrus butter (lemon zest, orange zest, pinch of cayenne)
Each layer adds complexity without overwhelming the delicate meat.
4. Choose Your Lobster Tail Wisely
Not all tails are created equal:
- Cold water (Maine) tails: Sweeter, more tender, best for special occasions
- Warm water (Caribbean) tails: Firmer, more robust, excellent for grilling
- Size matters: 6-8oz tails cook most evenly on a standard grill
5. Rest Right, Not Long
The 5-minute steak rest doesn’t apply here:
- Rest the lobster for just 30–60 seconds maximum
- Longer rests lead to congealed butter and texture changes
- Use this brief window to add a final butter brush and garnish
6. Presentation Makes Perfect
People eat with their eyes first:
- For Instagram-worthy tails, push the meat completely above the shell before grilling
- Alternatively, use the “piggyback” method where the meat rests atop the shell
- Garnish with microgreens, paprika sprinkle, or herb sprigs for color contrast
Ready to Grill Like a Pro?

Grilling lobster tails isn’t just cooking – it’s a little backyard culinary theater. With these do’s, don’ts, and insider tips, you’re now equipped to handle this premium ingredient with confidence.
The secret? Respect for the ingredient, attention to temperature, and just enough seasoning to complement without competing.
Isn’t it amazing how something that seems so fancy can be mastered in your own backyard? Next time you’re planning a special meal, skip the steakhouse prices and create your own seafood feast.
Your grill is waiting – and now you know exactly how to grill lobster tails like the pro you are!
Ready to put these tips into action? Fire up that grill and enjoy the oceanside luxury in your own backyard. Happy grilling!
Robert Chill
Robert Chill is the technical voice behind Better Grills. He focuses on testing BBQ grills, smokers, and outdoor cooking equipment, breaking down features, performance, and real-world usability. His goal is to help readers choose the right grill without marketing hype or guesswork
